-
Le Regard (GB)
Le Regard
"est le reflet de l'âme"
"The look is the reflection of the soul"

This tutorial is my creation, any resemblance to any other tutorial is pure coincidence.
Prohibited from sharing without my permission.
Autorisações/premissão
Tubes, masks, backround, décos ,WA
Plugins :
On Here
Credit for the images used belongs to the author
My tutorials are protected by:

Tubes:
Tube by Karine Dreams
Misted by: Msrf?
Thank you!
WA et décos : by Moi-Même
others to perform during the tutorial
Mehdi: sorting tiles
AFS Import : sqborder 2
VM toolbox : instant tile
penta.com: VTR
MuRa’s Meister: Perspective tilling et copies
General preparation: Before starting one of my tutorials
This tutorial was created with PSP 2020, can be done with previous versions,
The alpha channel is compatible with pSP7
If you can't open alpha channel: Place the selections in your PSP selections folder
Place the PSP scripts and gradients in the corresponding "regulated" folder.
Most of my filters are in Unlimited, check the filter folder, some work outside of it.
Open the mask on the PSP.
Duplicate the material and work on the copies.
Remove signatures from tubes before use
Double click on presets
 , they will be installed automatically
 You can adapt the colors, the Blend mode of the layers, to your work

Material:
Initial dimensions 900x600 px
Colors:

1/ Foreground: #3580fe
2/Background: #5c5c5c
3: #ffffff
Place colors F/B

Copy gradient Bleu Hues and place a copy of on your PSP Gradients files
Place it on Foreground

you can change the colors
(if necessary, see explanation On here)
Or fill the alpha channel with one of your colors:
new layer, fill with the gradient, choose the blend mode of the layer, as desired, merge down.
1/
Load the canal_ alpha_ regard
Fill with gradient
2/
Layers, Duplicate
Effects, plugins : Mehdi, sorting tiles : 300-500/block 300, crossed.

On raster 1
Selections, load a selection from alpha Channel, sélection 1
selections, promote selection to layer
Layers, arrange, bring to top
Layers, new raster layer
Selections, modify, select borders of selection:

fill with color 1
Effects, plugins : (Unlimited if this is your case) AFS Import : sqborder 2, how to open

Effects, Edge effects , enhance
select none
Effects 3 D drop shadow : 0/0/100/50 black
3/
On the layer copy of raster 1 (second from below)
Selections, load a selection from alpha Channel, sélection 2
Selections, promote selection to layer
Select none
Effects, plugins :
AFs Import : sqborder 2 as before
(you don't see anything and it's normal)
(Unlimited if it's your case) VM toolbox , instant tile, how to open
Layers, propreties, Blend mode, screen
4/
On the layer below ( copy of raster 1)
Selections, load a selection from alpha Channel, sélection 3
Promote selection to layer
Effects, plugins: penta.com, VTR, How to open

Select none
Repeat the effect penta.com VTR as before
Effects, 3 D, drop shadow 0/0/100/50, black
5/
On the layer below (copy of raster 1)
Effects , reflection effecst, Rotating mirror :

Effects, plugins: MuRa’s Meister, Perspective tilling: height at 20

Adjust,Blur, motion blur :

Adjust, sharpness, sharpen more
Effects 3 D, drop shadow : 0/0/100/50, black
6/
On the second layer from above ( promoted selection)
Load the misted (eye), copy
On your work: paste as a new layer
Image, resize a 80 % all layers unshecked
(adapt to your misted or tube)
Activate the Move tool (M), place the misted in the center of the frame
(If necessary: load the seleção 1, invert and delete)
Layers, propreties, Opacity at 80
7/
On the top layer of the layers
Layers, merge down 2 x
print of current layers:

8/
Layers, duplicate
Image, resize a 20 % all layers unshecked
Adjust, sharpness, sharpen
Effects, plugins: MuRa’s Meister, copies:

Place top left: Objects, align, top and align, left
9/
On the layer below
Layers, New raster layer
Selections, load a selection from alpha Channel, sélection 4
Fill with the initial gradient
Select none
3 D Drop shadow : 0/5/80/10, black
10/
Image add borders , symmetric :
1 px color 1
2 px color 2
1 px color 1
5 px color 3
1 px color 1
2 px color 2
1 px color 1
11/
Select all
Add borders : 30 px color 3
Effects, Image effects, seamless tilling, setting: Default
12/
Selections, invert
Adjust, Blur, gaussien blur, radius at 6
Effects , Reflection effects, Rotating mirror, as before
Selections, invert
3 D drop shadow : 1/-1/80/55 black
Select none
13/
Copy/paste as a new layer the"déco cadre"
Do not move, it is in place.
(adapt to your colors: changer color tool, click on the small top rectangle
click with the right or left mouse button to apply your color)
14/
Copy/ paste as a new layer, the main tube (woman, for me)
Image, Resize a 60% all layers unshecked
Place with the pick tool K (K key to activate)
Position : X 320, Y 18
(M key to disable the tool)
Adjust, sharpness, sharpen
(Adapt to your tube )
Effects 3D , drop shadow, as before
15/
Copy/paste as a new layer the WA titre
Place with pick tool K:
position : X 712, Y 560, or according to your work
Layers, propreties, Blend mode, Overlay
16/
Sign and attach my signature
Add borders de 1 px color 1
17/
Image, resize width at 950 px
Save as JPG/jepg
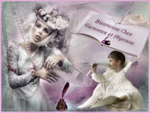
My version 2, tube de Tineke, misted de Maja-design, thank you !

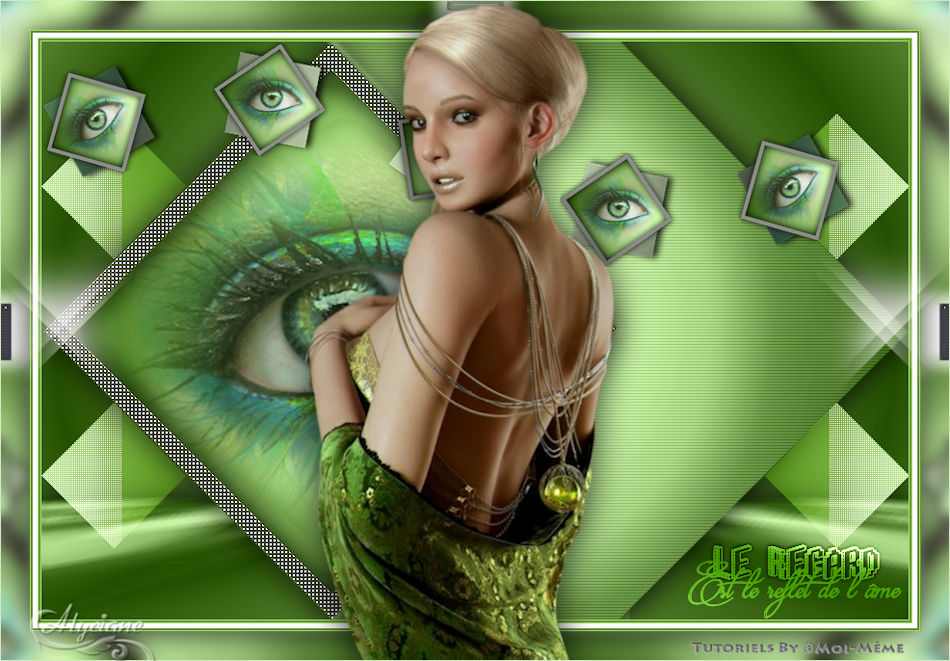
Merci Alyciane pour avoir testé ce tuto
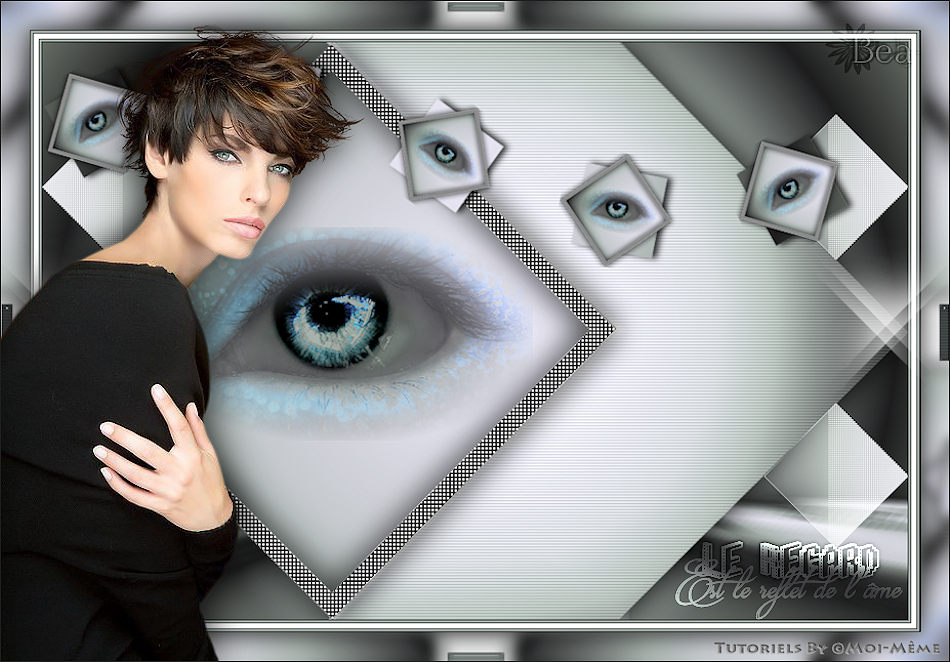
Merci Béa pour avoir testé ce tuto
Merci Anja pour les traductions NL et D

Inédits de ma conscience


