
-
Santa Muerte (GB)
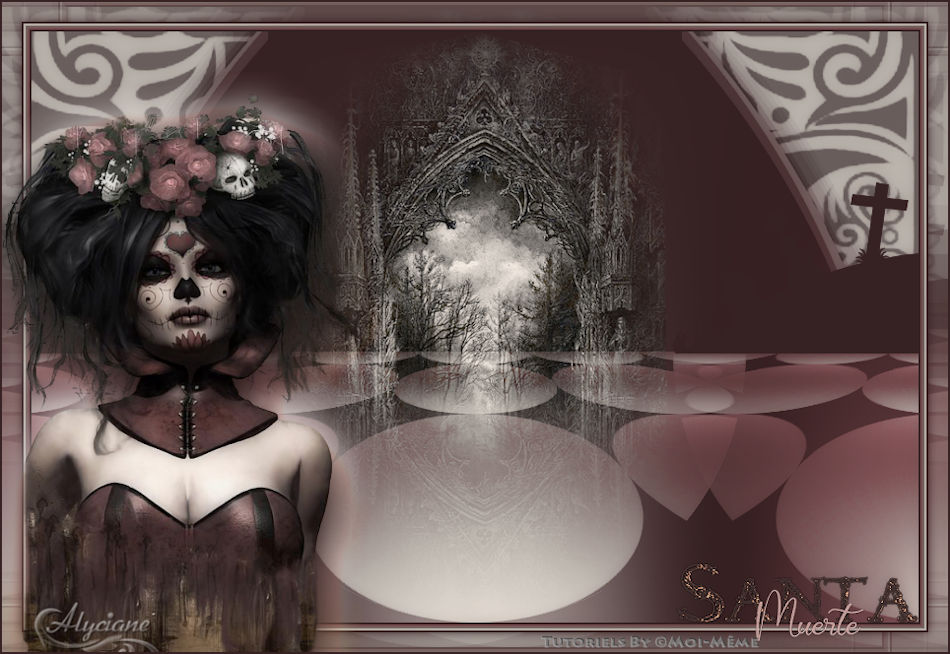
Santa Muerte
(Homage to traditions)

This tutorial is my creation, any resemblance to any other tutorial is pure coincidence.
Prohibited from sharing without my permission.
Autorisações/premissão
Tubes, masks, backround, décos ,WA
Plugins :
On Here
Credit for the images used belongs to the author
My tutorials are protected by:

Tubes:
Tube by Lily
Misted by: Kahlan
Thank you!
WA et décos : by Moi-Même
others to perform during the tutorial
Mehdi
Toodies
MuRa’s Meister
Opcional: Xero
General preparation: Before starting one of my tutorials
This tutorial was created with PSP 2020, can be done with previous versions,
The alpha channel is compatible with pSP7
If you can't open alpha channel: Place the selections in your PSP selections folder
Place the PSP scripts and gradients in the corresponding "regulated" folder.
Most of my filters are in Unlimited, check the filter folder, some work outside of it.
Open the mask on the PSP.
Duplicate the material and work on the copies.
Remove signatures from tubes before use
Double click on presets
 , they will be installed automatically
 You can adapt the colors, the Blend mode of the layers, to your work

Material:

Initial dimensions 900x600 px
Colors :

1/
Load the canal alpha santa_M
Effects plugins:
Mehdi, wavy lab 1.1, in mode put : color 2 in the 3rd box, 3 in the 4th box:

2/
Selections, load a selection from alpha channel, sélection 1
Layers, promote selection to layer
Effects, plugins:
MuRa’s Meister, perspective tilling:

selections, select none
3/
Effects, Image effects, seamless tilling: setting: side by side
Effects, reflection effects: rotating mirror, all data at zero, reflect checked
Layers, propreties, Blend Mode, screen
Objects, align, bottom (to put at the bottom of the layer)
Sélections, load a selection from alpha channel, sélection 2
DELETE
Select none
Effects 3D, drop shadow: 0/0/100/0, color 2
4/
On the raster 1 (at the bottom of the layers)
Effects, distortion effects, polar coordinates : polar to rectangular checked

5/
Load the provided misted (landscape or other), copy
About your work: paste as a new layer
(Resize your misted if necessary)
With the Move tool (M), put how about the final example
or pick tool K, (K key to activate) :
Position: X 167 , Y -18
M key to desactivate the pick tool K
(adapt to your misted)
6/
Layers, duplicate
Image, Mirror, mirror vertical
Layers, propreties, Opacity at 20
Layers, arrange, move down
7/
On the layer above
Layers, new raster layer
Selections, load a selection from alpha channel, sélection 3
Fill with color 3
select none
Effects plugins: Toodies what are you ?, at 7/7

Selections, load a selection from alpha channel, again, the sélection 3
Effects plugins: Toodies, what are you?, as before
Blend Mode, screen, Opacity at 80
8/
Load the déco 1_ St_morte, copy/ paste as a new layer
Objects, align, top
Blend Mode , multiply, Opacity at 50
10/
On the top of layers
Add a new raster layer
Selections, load a selection from alpha channel, sélection 4
(this is a decorative selection, if necessary, PNG has been added to the material)

Fill with color 2
(depending your colors, you can decrease the opacity of the layer)
Blend Mode , hard light
select none
11/
Image, add borders, symmetric
2 px color 2
2 px color 1
2 px color 4
2 px color 1
2 px color 2
12/
Selections, select all
Image, add borders, symmetric:
20 px color 3
Selections, invert
Effets plugins: Toodies what are you ? (20/20)

Edit, Repeat what are you ?
Selections, Invert
Effects 3D drop shadow: 0/0/100/15, color 2
Select none
13/
Carregar o tube personagem
Copy/paste as a new layer
Image, Resize a 80% all layers desmarcado
colocar em baixo à esquerda: objets, align, bottom, and, align left
Layers, duplicate
14/
On the layer below
Adjust, Blur, gaussien blur, radius at 20
Effects, distortion effects, wind, from right , intensity at 50

15/
Sobre o topo das layers
Copy/paste as a new layer,the title "Titre SMuerte", put how about the final example
or , pick tool K:
position: X 683, Y 568
(colorize if necessary)
Adjust,sharpness, sharpen
16/
Sign your work
Add my signature (resize as needed, blend mode soft light)
17/
Add borders 1 px color 2
Image, resize width at 950 px
Optional: Effects plugins: Xero, porcelain:

17/
Save as JPG/jepg

My version 2: tube by Nikita Rêveries, thank you, misted Moi-Même

Merci Alyciane pour avoir testé ce tuto
Merci Anja pour ses traductions, NL et D

-
Commentaires
Inédits de ma conscience
-
O crédito das imagens utilizadas
pertence ao devido Autor
Os meus tutoriais e traduções são protegidos por:
Interditos de qualquer difusão sem a minha autorização
Agradeço o respeito por o meu trabalho.

-


