
-
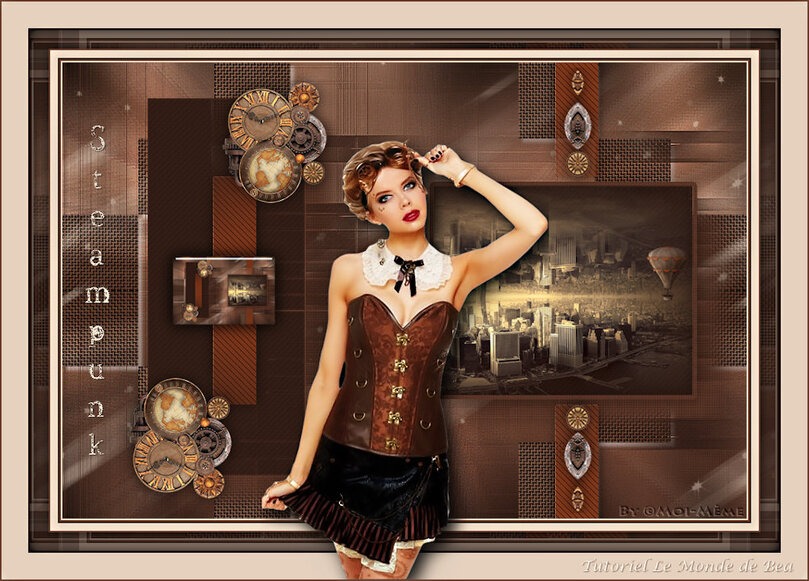
Steampunk 2020 (GB)
Steampunk 2020

This tutorial is by Béa

Thank you Béa, for allowing me to translate your tutorial
This tutorial is protected by copyright
The material provided is protected by the authors of the tubes
It is prohibited to appropriate or modify the original and / or signatures.
Any dissemination without written authorization is prohibited.
Original tutorial : On here
My version: tube and misted by Moi-Même
My translations are protected
Material: On here
credits on the author's website
Plugins:
Unlimited
Graphic plus
AP Lines
FM Tile Tools
Alien skin eye Candy 5 Impact
1.
Original color palette supplied with the material
My colors:
1: #e5d1be
2: #6c402f
3: #281a17

Forground cor 1
Background cor 2
2.
Load the Alpha_Steampunk2020
Duplicate, close the original, we work on the copy
3.
Fill with color 2
Layers, new raster layer
Selections, select all
Load the Steampunk character tube you have chosen
Remove the signature if necessary
Edit/ Copy
Sobre o seu trabalho: paste into selection
Selections, select none
Effects, Image effects, seamless tilling, settings: side by side
Adjust, Blur, radial

Effects, Edge effects, enhance more
Merge down
4.
Layers, Duplicate
Effects , plugins:
Apply plugin: Unlimited , Bkg Designer sf10 II, DIS Refractor 1

Adjust, sharpness, sharpen more
5.
Add a new raster layerFill with color 3
Layers, new mask layer, from image:
Mask_21_GB_2019

Edge effects, enhance more
Merge group
Adjust, sharpness, sharpen more
6.
Selections, load a selection from alpha channel
Load the sélection 1
Load the misted canal_ville_steampuck_tubed_by_thafs
Edit/Copy
About your work: Paste as a new layer
Image, Resize at 60% all layers unshecked
Selections/ Invert
DELETE
7.
Selections/InvertSelections, Modify, Select borders of selection:

Fill with color 2
Effects , textures , weave, both colors in black :

Effects 3D , drop shadow 0 / 0 / 75 / 25 black
8.
Select none
9.
Add a new raster layerSelections, load a selection from alpha channel
load the sélection 2
Fill with color 2
Apply the plugin: APLines , Silverlining:

3D Effects, drop shadow, as previously (memorized)
Remover a seleção
Image Effects, semless tilling, setting: default
Layers, arrange, Move down
Aplicar o plugin: FM Tile Tools , Saturation emboss, how to open
10.
Open the gear tube (Deco folder) KRYSSTEAMPUNK5
Attention !! use this tube because the effect will be different for the rest
Remove the signature
Edit/copy
About your work, paste as a new layer
Layers, arrange, Bring to top
Image, resize a 35% all layers unshecked
Activar a Pick tool K, (K key to activate), put on:
Position: X 210, Y 26
(M key to disable)
3D Effects, drop shadow, memorized
Duplicate this layer
Image, Mirror, vertical
Effects, Image effects , offset:

Merge down
11.
Put yourself in the second layer from the bottom (Copy of Raster 1)
Add a new raster layer
Fill with color 1
Layers, New mask layer from image:
NarahsMasks_1521

Image, Mirror, horizontal
Duplicate two times
Effects, Edge effects enhance more
Merge group
Layers, propreties, Opacity a 55, blend mode screenImage Effects, seamless tilling :

12.Activate the layer below (Copy of Raster 1)
Apply plugin: Graphic Plus , Cross Shadow, como à abertura
13.
Activate the layer Groupe - Raster 2
3D Effects , drop shadow, cor 2, shadow on new layer ckecked

About the Shadow layer: Effects, textures effects, weave, as previouslyArrange, Move down
14.
Activate the layer Groupe - Raster 2
Effects, textures, weave, Cor 2, fill gaps Unshecked

15.
About the Raster layer 1
Selections, load a selection from alpha channel
Load the sélection 3
Promote selection to layer
Arrange, move down
Keep selected
Effects, textures , Weave, with this data:

Select none
Apply plugin: Simple, Top Left mirrror ( Unlimited if it's your case)

Effects 3D drop shadow 5 / 5 / 50 / 5 , white, shadow on new layer Unshecked
16.
Edit/ Copie special/Copy merged
Edit, paste as a new layer
Arrange, bring to top
Resize a 15% all layers Unshecked
Activar a pick tool K, put on:
position: X 145, Y 255
Apply the plugin: Alien skin Eye Candy 5 Impact - Glass

3D drop shadow 0 / 0 / 75 / 25 Black
Edit/repeat drop shadow
17.
On the gears decoration layer (raster 4)
Layers, Duplicate
Object, Align, Center in canvas
Effects, reflection effects, Kaleidoscope:

Activar a Pick tool K, put on:
Position: X 638, Y 7
18.
Carregar o tube titre (titulo)
Edit/Copy
Sobre o seu trabalho, Layers, merge visibles
Edit/ paste as a new layer
com a Pick tool K , colocar:
Position: X 30, Y 82
( M key to disable the pick tool)
19.
Image, Add borders, symmetric
2 px color 12 px color 2
2 px color 3
10 px white (I have opted for color 1)
2 px color 2
25 px white
2 px color 3
35 px white (I have opted for color 1)
20.
Activate the magic wand tool, select the 25 px boardApply plugin: Unlimited , Bkg Designer sf10 I, Cruncher how to open
Edit/ repeat Unlimited ( Cruncher)
21.
Selections, Invert3D Effects, drop shadow 0 / 0 / 75 / 25 black
22.
Remover a seleção
23.
Copy/Paste as a new layer the character tubeDepending on your tube, resize according to the need, all layers unshecked
Placer
Apply plugin: Alien skin eye Candy 5 Impact , Perspective Shadow, settings: Drop Shadow, Blurry
24.
Sign and join the author's watermark25.
Image, Add borders de 2 px color 2
Resize width a 1000 px all layers unshecked
Adjust, sharpness, unsharp mask, setting: softSave as jpeg

-
Commentaires
Inédits de ma conscience
-
O crédito das imagens utilizadas
pertence ao devido Autor
Os meus tutoriais e traduções são protegidos por:

Interditos de qualquer difusão sem a minha autorização
Agradeço o respeito por o meu trabalho.

-


