-
Acrobate (GB)
Acrobate

This tutorial is my own, any resemblance to another tutorial is just pure coincidence.
Forbidden to share without my permission.
Autorizations
Tubes, masks, backgrounds, decorations ,WA
Plugins:
On Here
the credits of the images used,
belong to the appropriate authors
My tutorials are protected:

Thank you tubers
Tube : Ana Ridzi
Masque de GB
Decorations , WA: from me
others to be done during the tutorial
Unlimited:
MuRa’s Seamless
.....
AAA Filters
MuRa’s meister , wavy lab 1.1
Alien Skin Eye candy 5 Impact
General preparation: Before starting one of my tutorials
This tutorial was created with PSP 2020, can be done with previous versions,
The alpha channel is compatible with pSP7
If you can't open alpha channel: Place the selections in your PSP selections folder
Place the PSP scripts and gradients in the corresponding "regulated" folder.
Most of my filters are in Unlimited, check the filter folder, some work outside of it.
Open the mask on the PSP.
Duplicate the material and work on the copies.
Remove signatures from tubes before use
Double click on presets
 , they will be installed automatically
 You can adapt the colors, the Blend mode of the layers, to your work
Material:Initial dimensions: 900x600 px
Colors :

Foreground : color 1, #af6a73
Background: color 2, #654539
Color 3, #6d7f71
Color 4, #ffffff

1/
File, New, 900x600 px, transparent
Effects plugins: Mehdi , wavy lab 1.1 : Mode: put color 3 in box 3 and 4 in box 4

2/
Effects, Distortion effects, polar coordinates :

3/
Layers, Duplicate
Apply the plugin: Unlimited, MuRa’s Seamless , checks…

4/
Apply the plugin: MuRa’s Meister, perspective tiling :

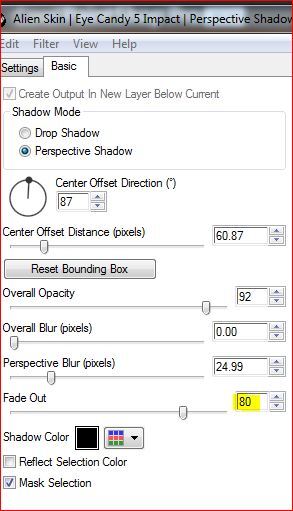
Apply the plugin: Alien skin Eye Candy 5 Impact, Perspective shadow, settings: cast on wall
5/
About a layer raster 1
Activate the Selection tool (S), click on custom selection :


Promote selection to layer
Apply the plugin: Unlimited, MuRa's seamless, Checks, as previously
Selections, select none
6/
Layers, duplicate
Image, mirror, mirror horizontal
Layers, Merge down
Effects 3 D, drop shadow : -6/6/80/30 black
Duplicate
Effects , Réflection effects, kaleidoscope:

Layers, propreties, blend mode, soft light
7/
Layers, new raster layer
fill with color 4
Layers, new mask layer, from image :
Mask_GB_001

Duplicate
Merge group
8/
Layers, duplicate
Image mirror, mirror horizontal
Layers, propreties, Blend mode, soft light
Effects, Textures, weave: colors 1 and 4

Enable the layer below
Effects 3 D, drop shadow: -6/6/80/30 black
(if color 4 is dark, apply the white shade)
9/
At the top of layers
Load/copy/paste as a new layer, the "Déco 1"
Blend Mode, soft light
put with pick tool K: (K key on your keyboard)
position: X 0 , Y 367
(or adapt to your tube)
10/
Load/copy/paste as a new layer, the "Déco 2"
Effects 3D, drop shadow: -6/6/80/30 black
put with pick tool K:
position: X 26, Y 1
11/
Load/copy/paste as a new layer, o tube character (woman or other)
Image, Resize a 80% all layers Unshecked
Leave it in place, or if you use a different tube, put it as in the example
Apply the plugin: Alien skin Eye Candy 5 Impact, Prespective shadow : settings cast on the wall
New data:

12/
Image, add borders, symmetric :
1 px color 2
2 px color 1
2 px color 3
1 px color 2
10 px color 4
1 px color 2
2 px color 1
2 px color 3
1 px color 2
30 px color 4
13/
Activate the magic wand tool, select the 30 px frame
Apply the plugin: Mehdi wavy lab 1.1, as initially (in memory)
Effects, textures, weave, as previously
Effects, distortion effects, Wrap:

Effects, reflection effects, Rotating mirror:

14/
Selections, invert
Effets 3D, drop shadow, as previously
Select none
15/
Sign your work
Add my signature (resize and Blend mode soft light)
16/
Load/copy/paste as a new layer , the " WAtitre"
place as in the final example
(Pick tool K, position : X 689,Y 559)
(adapt to your colors with the tool: colors changer)
17/
Image, Add borders, symmetric :
1 px color 2
2 px color 1
2 px color 3
1 px color 2
18/
Image, resize, width at 950 px
Save as JPG/jepg
Contact:
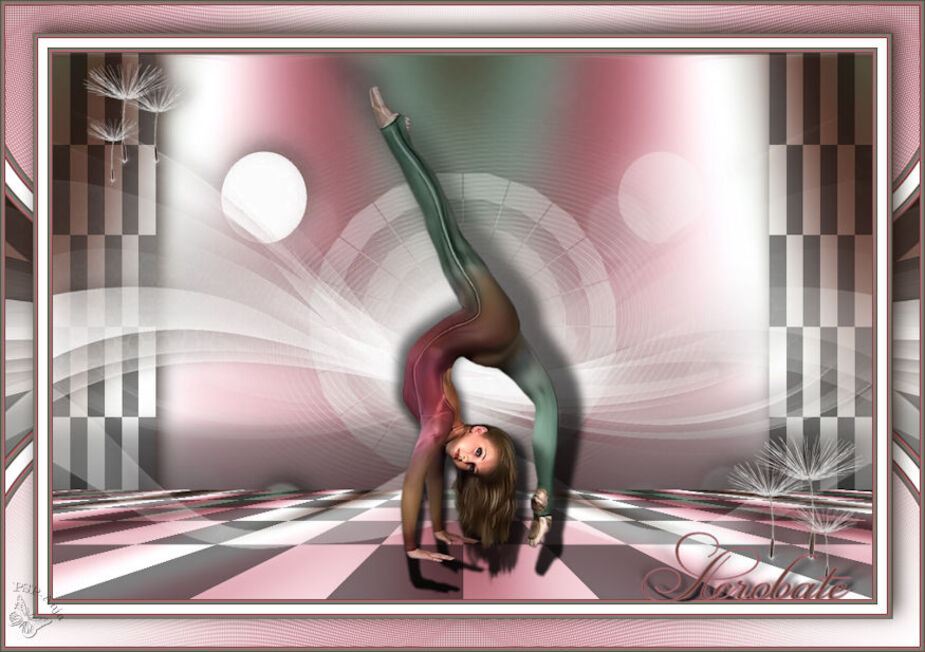
My version 2: tube from @nn, thanks!
(Mask dark colored, on the raster layer 1, decoration 2 adapted according to my tube)

Merci Alyciane pour avoir testé ce tuto:

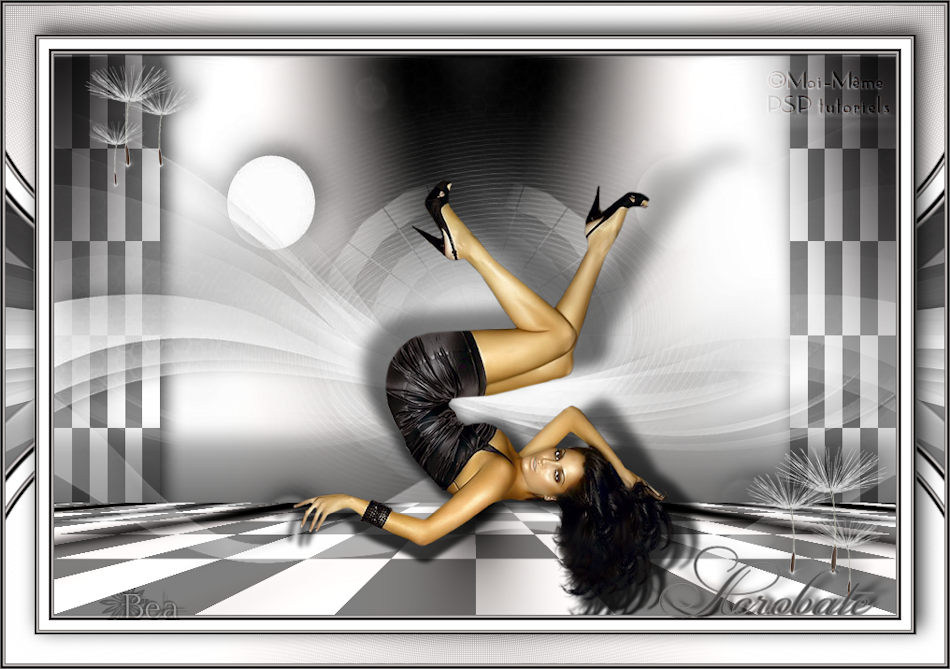
Merci Béa pour avoir testé ce tuto
Merci Anja pour sa traduction NL
et sa version:

-
Commentaires
Inédits de ma conscience


