-
BCBG (gb)
BCBG - bon chic bon genre

This tutorial is my creation, any resemblance to any other tutorial is pure coincidence.
Prohibited from sharing without my permission.
Autorisações/premissão
Tubes, masks, backround, décos ,WA
Plugins :
Aqui
O crédito pelas imagens utilizadas
pertence ao devido Autor

Mes tutoriels sont protégés par:
Tubes:
Personagem by Cibibijoux
Mask by: SmArt
Obrigado!
WA et décos : de Moi-Même
outros a realizar durante o tutorial
Unlimited: VM toolbox, instant tile
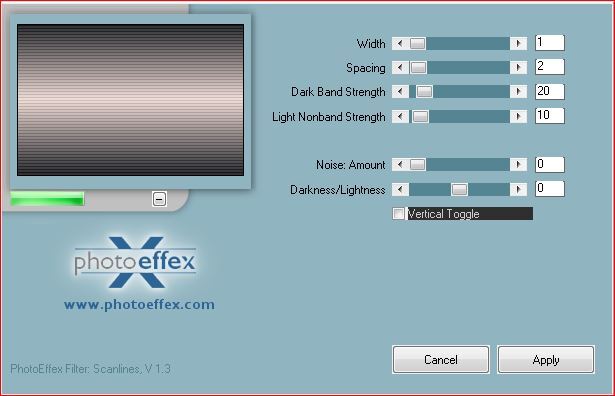
Photoeffex , scan lines
Alien skin Eye candy 5, Impact
General preparation: Before starting one of my tutorials
This tutorial was created with PSP 2020, can be done with previous versions,
The alpha channel is compatible with pSP7
If you can't open alpha channel: Place the selections in your PSP selections folder
Place the PSP scripts and gradients in the corresponding "regulated" folder.
Most of my filters are in Unlimited, check the filter folder, some work outside of it.
Open the mask on the PSP.
Duplicate the material and work on the copies.
Remove signatures from tubes before use
Double click on presets
 , they will be installed automatically
 You can adapt the colors, the Blend mode of the layers, to your work
Material:
Initial dimensions 900x600 px
Colors:

Foreground/1 #e6d4ce
Background/ 2 #26272b
3 #cfd3d4
Put color 1 in foreground, color 2 in the background
Preparar a gradient, linear:
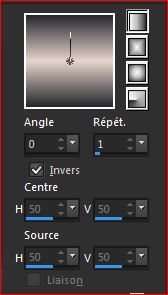
1/
Load the canal alpha bcbg
Fill with gradient
Layers, New raster layer
Fill with color 3
2/
Load the mask SmArt_ maszk_79
Layers, new mask layer from image:

Layers, merge group
Effects, Edge effects. enhance
Effects plugins:
Photoeffex , Scan lines: how to open, verticale toogle checked

3/
About the raster layer 1 (bottom)
Effects plugins:
Photoeffex, Scan lines : how to open, verticale toogle Unshecked
4/
Sélections, load a selection from alpha channel, sélection 1
Selections, promote selection to layer
Selections, select none
5/
Effects , reflection effects, rotating mirror :

Effects , distortion effects, waves :

Effects plugins:
Carolaine and sensibility, Cs-Halloween 2 : how to open

repeat again : reflection effects, rotating mirror , as before
Effects plugins:
(Unlimited), VM toolbox, instant tile:

6/
Selections, load a selection from alpha channel, sélection 2
Edit, Cut
Select none
Edit, past as a new image
Activate the selection tool (S) , mode add, select the top and bottom, as in the print below :

DELETE
Selections, select all, float
Effects plugins:
Alien skin Eye candy 5, Impact, glass, setting: clear no drop shadow

For security purposes : File, export as optimised png (transparent)
leave it open on your psp and reserver pour later (decoration)
7/
Back to your work
Select none
Layers, new raster layer
Selections, select all
Load the misted 1, copy
(I added, in the material, some misteds for your choice, if you wish)
On your work, paste into selection
In PSP 2020, one selection is canceled by the next, otherwise: Remove the selection
8/
Selections, load a selection from alpha channel, sélection 2
Selections, Invert
DELETE
select none
Layers, propreties, Blend Mode ,hard light (or adapt to your work)
9/
Image add borders, symmetric:
2 px color 3
1 px color 2
10/
Selections, select all
Image add borders, symmetric :
50 px color 1
Effects , Image effects, seamless tilling, setting: Default
Selections, invert
Adjust, Blur, gaussien, radius at 25
Effects plugins:
photoeffex, scan lines: like the previous 2
1 Time: verticale toogle unshecked
1 Time: verticale toogle checked
Effects , Edge effects, enhance
(or depending on the sharpness settings of the job: Adjust, sharpness, sharpen or sharpen more)
Selections, invert
Effects, 3D effects , drop shadow , 0/0/100/50, color 2
(or black if its color is not too dark)
Select none
11/
About the decoration image you left out: Copy
On your work: paste as a new layer
Image resize, 1 time at 40% e 1 time at 80%, all layers unshecked
Colocar com pick tool K : (K key to activate)
Position: X 150, Y 54
( M Key to deactivate the pick tool K )
12/
Layers, duplicate
Image, mirror, mirror vertical
Merge down
Effects 3 D , drop shadow : 0/0/100/5 , color 2 (or black)
13/
Load the character tube (woman or man), Copy
On your work : paste as a new layer
Image, resize at 80% , all layers unshecked
Adjust, sharpness, sharpen
Place on the right, with the pick tool K:
Position: X 578, Y 30, (Adapt to your tube)
14/
Layers, duplicate
On the layer below
Adjust, Blur, gaussien, as before
Layers, propreties, Blend Mode, multiply
15/
On the layer above
Effects 3D,drop shadow : 0/0/40/50 black
16/
Copy-paste the title"titre"
put with pick tool K :
Position: X 157, Y 256
17/
Sign and add my signature
18/
Image, Add borders 1 px color 2
Resize width a 950 px
Save as JPG/jepg
My version 2: tube by Cikadesign, Thank you ! Misted by Moi-Même.

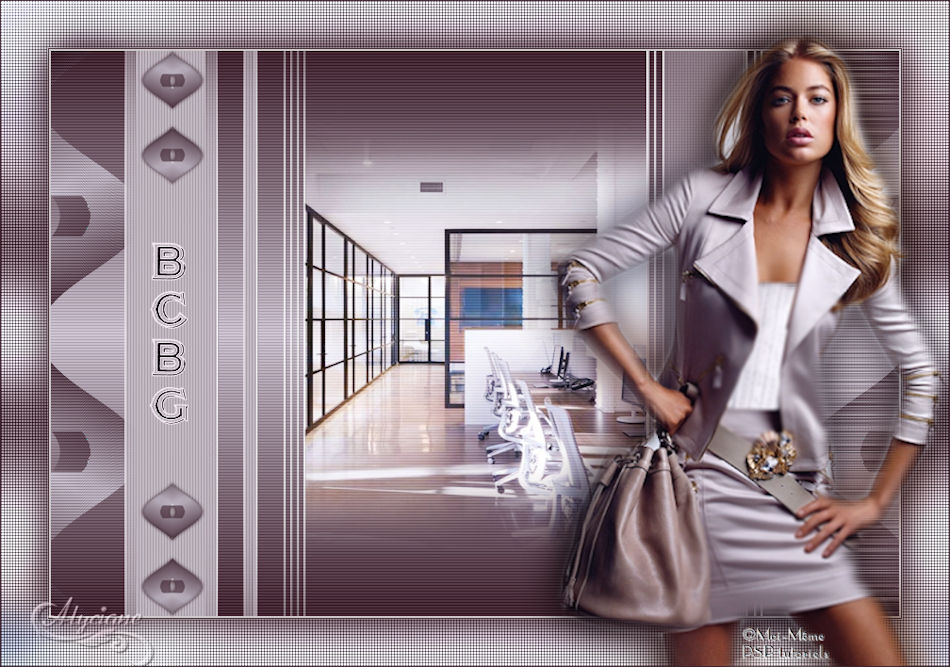
Merci Alyciane for testing this tutorial
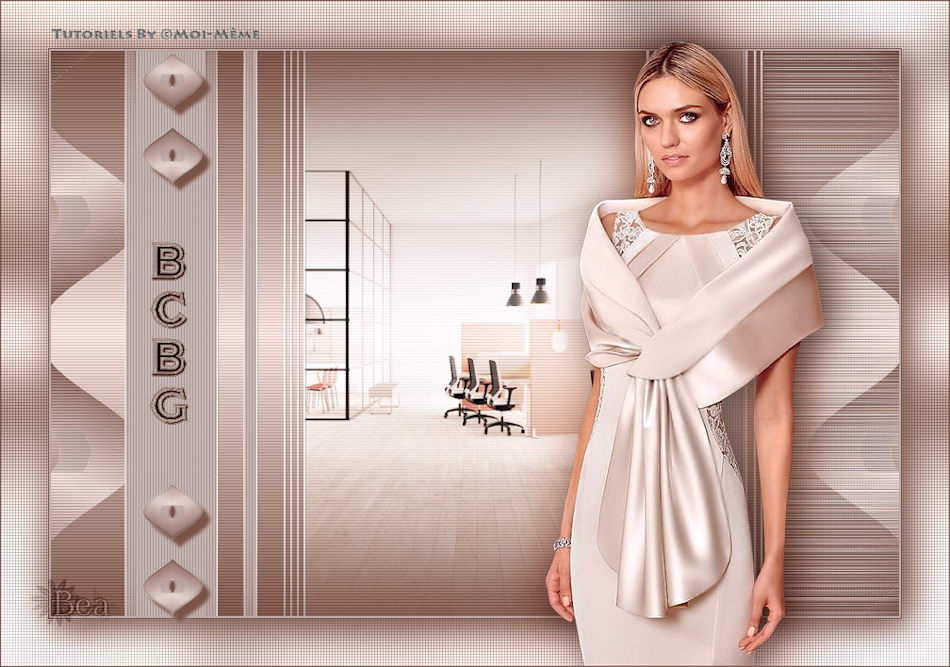
Merci Béa for testing this tutorial
Merci Anja for his test and translation NL and D
Effects Photoeffex changed by effets textures blinds:

Inédits de ma conscience


