
-
Par ©Moi-Même le 24 Mars 2020 à 22:04
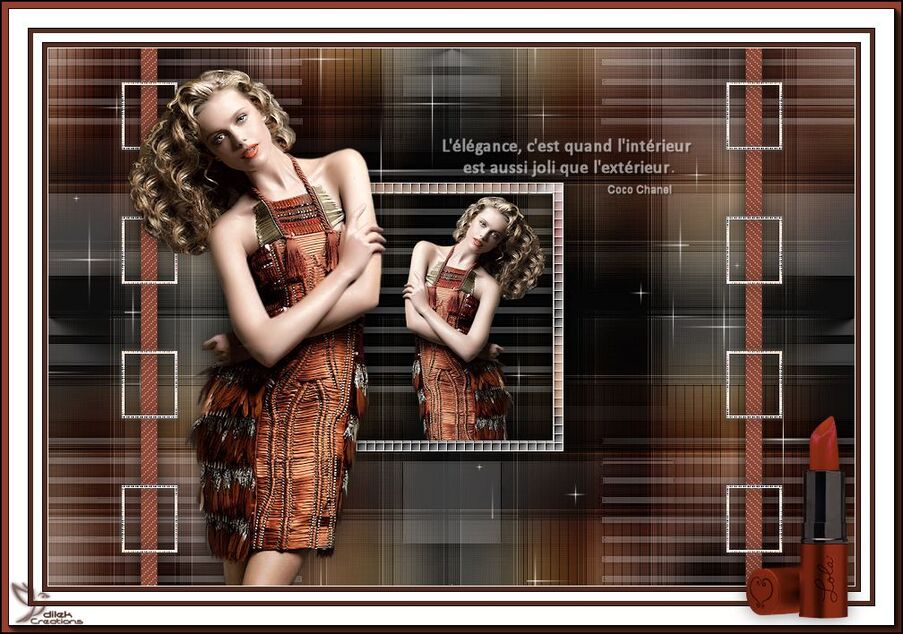
Elegance

This tutorial is by Béa

Thank you Béa, for allowing me to translate your tutorial
This tutorial is protected by copyright
The material provided is protected by the authors of the tubes
It is prohibited to appropriate or modify the original and / or signatures.
Any dissemination without written authorization is prohibited.
Ma version, tube de Cicka design, merci !

Original Tutorial> On Here
Material >On Here
original color palette provided in the material
Plugins:
Unlimited
Alien skien eye Candy 5 Impact
AP Lines
AAA Frames
Tutoriel:
1.
Place colors:
mine:
Foreground: color 1 #c9c5d3
Background : #110f14

2.
Load the Alpha_Elegance
duplicate
Close the original
Let's work on the copy
3.
Load the tube character (Woman with hat)
Select none
Edit/ Copy
About your work: Selections , Select all
Edit/ paste into selection
Selections, select none
Effects , image effects, seamless tilling , settings : Default

4.
Adjust , Blur, radial:
Layers, merge all
5.
Right click on the Materials palettePromote Background layer

6.
Duplicate this layer
Effects , reflection effects, rotating Mirror :

Effects , reflection effects, rotating Mirror, rotation angle at 90
Effects , reflection effects, rotating Mirror, rotation angle at 180
Adjust, Blur, gaussien, radius at 357.
Effects, plugins: -Unlimited, Bkg Background Designers IV, sf10, Square Bumps
Density a 48
Shading a 36
Effects, Edge effects, Enhance
8.
Enable the Raster 1Selections, Load a selection from alpha channel
Load the, sélection 1
Promote selection to layer
Layers, Arrange, bring to top
Effects, textures effects, Blinds

Again :
Effects, textures effects, Blinds

Selections - Modify - Contract at 12DELETE
Select none
Edge effects, Enhance
Effects 3D effects, drop shadow 0 / 0 / 75 / 25 Black
Objects, Align, Center in canvas

Or, Enable the pick tool K , put
position: X 305, Y 130
9.
Load a selection from alpha channel
Load the: sélection 2
Edit/Copy again the character tube
About your work:: paste as a new layer
Resize a 40% all layers Unshecked
put inside the frame
Selections/Invert
DELETE
Select none
Adjust, sharpness, sharpen
effects, 3 D effects, drop shadow, as previously
10.
print of current layers:

Enable the promoted selection layer (frame)
11.
Duplicate this layer
plugins: Unlimited , Bkg Designer sf10 III, VMT Instant TileEdit, Repeat Unlimited ( VMT Instant Tile)
12.
Load a selection from alpha channel
Load the: sélection 3
DELETE
Select none
13.
Adjust, sharpness, sharpen more3D drop shadow as previously
Load a selection from alpha channelLoad the: sélection 4
Add a new raster layer
fill with color 1
Effects, textures , weave , White

Select none14.
3D drop shadow as previously
Duplicate this layer
Image, Mirror
Merge down
Move down
15.
Enable the copy of raster 1Add a new raster layer
Fill in white
Layers, new mask layer from image
Charger le masque lIA_mASK-BARRAS-01.jpg

DuplicateMerge group
Blend mode: Normal , Opacity 25
Image effects, seamless tilling, settings: defaultReflection effects, Rotating Mirror, as previously (180)
Edge effects , enhance more
16.
Enable the layer below (Copy of raster 1)
Load a selection from alpha channel
Load the: sélection 5
Promote selection to layer
plugin: Ap Lines - Silverlining

Select none
Blend Mode, soft light
17.
Enable the layer below (Copy of raster 1)Plugin: Unlimited, Funhouse, Loom how to opening
18.
Enable the top layer of the layersLoad the wordart
Edit/ Copy
About your work: paste as a new layer
Enable a pick tool K, put
Position: X 440, Y 100
Image, Image negative
Layers propreties, Opacity at 55
3D effects, drop shadow 2 / 2 / 50 / 2 Black
19.
Copy again, the character tube
About your work: paste as a new layer
Image, Mirror horizontal
Resize 2 times at 95% , all layers Unshecked
Place on the left (in order to make some of the frames visible)Plugin: Alien skin eye Candy 5 Impact, Perspective shadow, settings: Drop Shadow, Higher
(I chose: drop shadow blurry, my colors are light)
20.Load the tube Deco_etoile
Edit/copy
Enable the third layer below

Edit/paste as a new layer
Blend Mode, screen
21.
Image, Add borders, symmetrics
1 px White
5 px color 1
1 px Black
10 px White
5 px color 1
1 px Black
30 px White
Plugin: AAA Frames , Foto Frame(the original from Béa)

(mine)

22.Load the Deco maquillage
Edit/ Copy/ paste as a new layer
put down right
3D Effects drop shadow, as previously
23.
Sign and join the author's watermark
Add borders de 1 px BlackSave as jpeg

Thank you!!
Dilek
 votre commentaire
 Suivre le flux RSS des articles de cette rubrique Suivre le flux RSS des commentaires de cette rubrique
Inédits de ma conscience
-
O crédito das imagens utilizadas
pertence ao devido Autor
Os meus tutoriais e traduções são protegidos por:

Interditos de qualquer difusão sem a minha autorização
Agradeço o respeito por o meu trabalho.

-


