


-
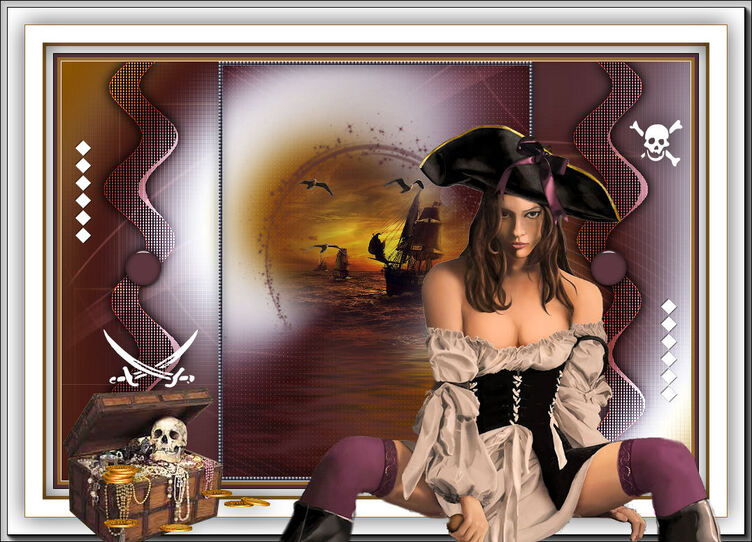
Lady Pirate (gb)
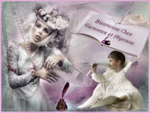
Lady Pirate

This tutorial is by Béa

Thank you Béa, for allowing me to translate your tutorial
This tutorial is protected by copyright
The material provided is protected by the authors of the tubes
It is prohibited to appropriate or modify the original and / or signatures.
Any dissemination without written authorization is prohibited.
Original Tutorial On Here
Material On Here
You will need a pirate woman tube, see in the material
My version: Tube by Françoise Yverdon créations , Thank you, misted by me

Plugins:
Alien skin eye Candy 5 Impact
Carolaine and Sensibility -
Flaming Pear
Mehdi
1.
Choose a color over your landscape - for the original #cf8856
Choose a dark color over your pirate woman tube - for the original #2d18172.
Put the colorsMy colors :
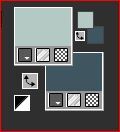
Foreground cor 1Background cor 2
3.
Load the Alpha_LadyPirate
Window/ Duplicate, close the original, work on the copy
4.
Effects , plugins: Mehdi - Wavy lab 1.1 white color in the third place :
5.Layers, new raster layer
fill with color 2
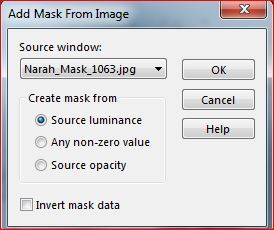
Layers, new mask layer, from image:

Layers, merge group
Edit/cut
Selections, load a selection from alpha channelload the selection 1
Edit/paste into selection
Adjust, sharpness, sharpen more
Selections, select none6.
Layers, new raster layerLoad the landscape (boat)
Edit/copy
On your work: selections, load a selection from alpha channel
load the sélection 2
Edit/paste into selection
Selections, select none
7.
On the layer below (mask)Selections, load a selection from alpha channel
Load the sélection 3
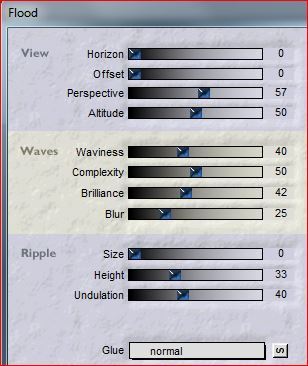
Effects , plugins: Flaming Pear - Flood
select none8.
On top layer of layersLayers, new raster layer
Selections, load a selection from alpha channel
reload the sélection 1
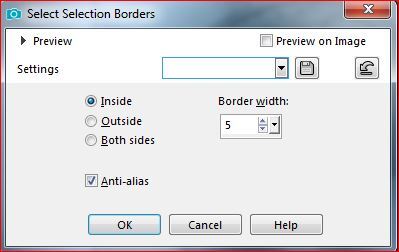
Selections , Modify, select selection borders:
Fill in white
9.
Effects, textures effects, Blinds, Color 2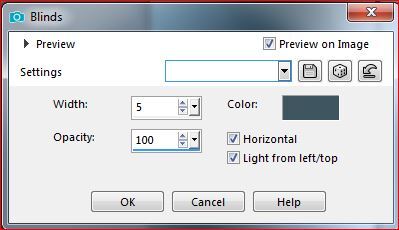
repeat textures/blinds but uncheck horizontal
Effects 3D drop shadow 0 / 0 / 75 / 25 black
Select none10.
On the Raster 1 layerreload the sélection 1
Selections, Promote selection to layer
Effects , plugins: Carolaine and Sensibility ,CS-LDots

Layers propreties, Blend mode, soft light
Select none
11.
On the Raster 1 layerreload the sélection 1
Selections/Invert
Effects , plugins: Unlimited -Funhouse, Loom , how to opening
Adjust, sharpness, sharpen
Select none
12.
On the Raster 1 layerLayers, new raster layer
Fill with color 1
Layers, new mask layer, from image:
Merge group
reload the sélection 1
DELETE
select none
Blend mode, screen, opacity at 40
13.
Layers, new raster layerFill with color 2
Layers, new mask layer, from image:

Layers, duplicate
Merge group
reload the sélection 1
DELETE
select none
Effects, Image effects, seamless tilling:

Blend Mode, screen
Effects 3D drop shadow, as before
Layers, merge visible14.
Layers, new raster layerSelections, load a selection from alpha Channel
Load the selection 4
Fill in white
Select none15.
Effects, distortion effects, punch: at 60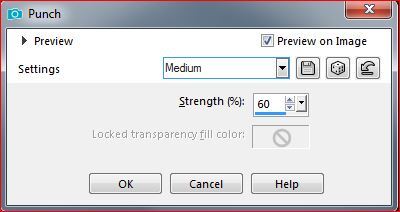
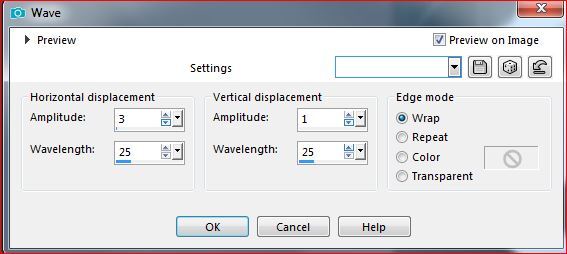
Effects, distortion effects, wave :
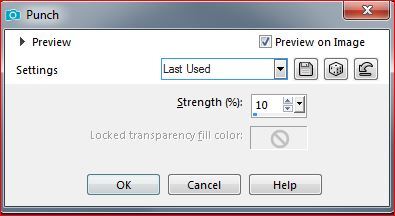
Effects, distortion effects, punch: at 10
Ativar a pick tool ( K Key) , place itPosition X 60
Position Y 0
M Key to deselect the pick tool16.
Layers/duplicate
Image, Mirror, mirror horizontal
Merge down
17.
Effects , plugins: L & K - Katharina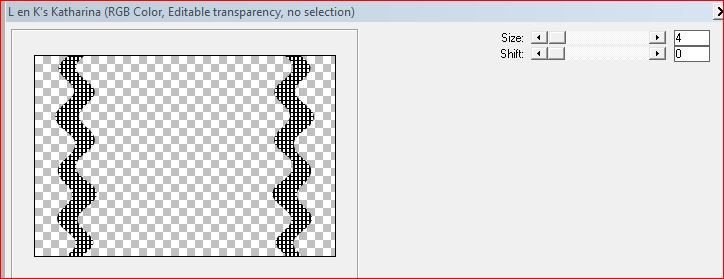
Effects 3D drop shadow, as before
Blend Mode, OverlayEffects, Edge effects, enhance more
18.
Layers, new raster layerSelections, load a selection from alpha Channel
Load the sélection 5
Fill in color 2
Effects , plugins: Alien skin eye Candy 5 Impact ,Glass , Clear : In settings put white color
Effects 3D , drop shadow, as beforeSelect none
19.
Layers/duplicateImage , Mirror, mirror horizontal
Merge down
20.
Load the Deco.pngEdit/copy
On your work, paste as a new layer
21.
activate the Texte tool- choose the font you want to use (fonts folder, in the material)Size 100 or as your choice
Colors: white/ Foreground and background
Depending on the letter you use, the design will be different
(hint: open a new image to try out different designs)
Place the two elements as on the final example (one in the upper right corner, one in the lower left corner)or as you like
Effects 3D drop shadow 1 / 1 / 50 / 1 black22.
Image, Add borders, symmetric:1 px white
5 px color 2
5 px color 1
1 px black
10 px white
5 px color 2
25 px white
1 px color 2
35 px white
With the magic wand tool, select the white border of 25 px
Effects 3D drop shadow 0 / 0 / 75 / 50 black
Select none
23.
Effects , plugins: AAA Frames , Fotoframe:
24.
Load the pirate woman tube, copy
Paste as a new layer
Resize all layers unchecked if needed
Plugins: Alien skin eye Candy 5 Impact , Perspective shadow , Drop Shadow blurry
Place it as you like25.
SignAdd the author watermark
Add borders : 1 px , color 2Resize width at 950 px
Save as jpeg

Feel free to submit your work.
Thank you Anne K.
-
Commentaires
Inédits de ma conscience
-
O crédito das imagens utilizadas
pertence ao devido Autor
Os meus tutoriais e traduções são protegidos por:

Interditos de qualquer difusão sem a minha autorização
Agradeço o respeito por o meu trabalho.

-


Le monde de Béa


La passion de Mel

Le Jardin de Félinec31
Traduções Alyciane e Garances

Click sobre o nome
Cloclo
Barbara de Venise


En Français pour Anja Timmers


En Français pour SimPsp


-
Tubes divers:


-

-


