
-
Livraison de Fleurs (eng)
Livraison de Fleurs
(flowers delivery)

This tutorial is by Béa

Thank you Béa, for allowing me to translate your tutorial
This tutorial is protected by copyright
The material provided is protected by the authors of the tubes
It is prohibited to appropriate or modify the original and / or signatures.
Any dissemination without written authorization is prohibited.
Original Tutorial: On here

Version conforms to the original:
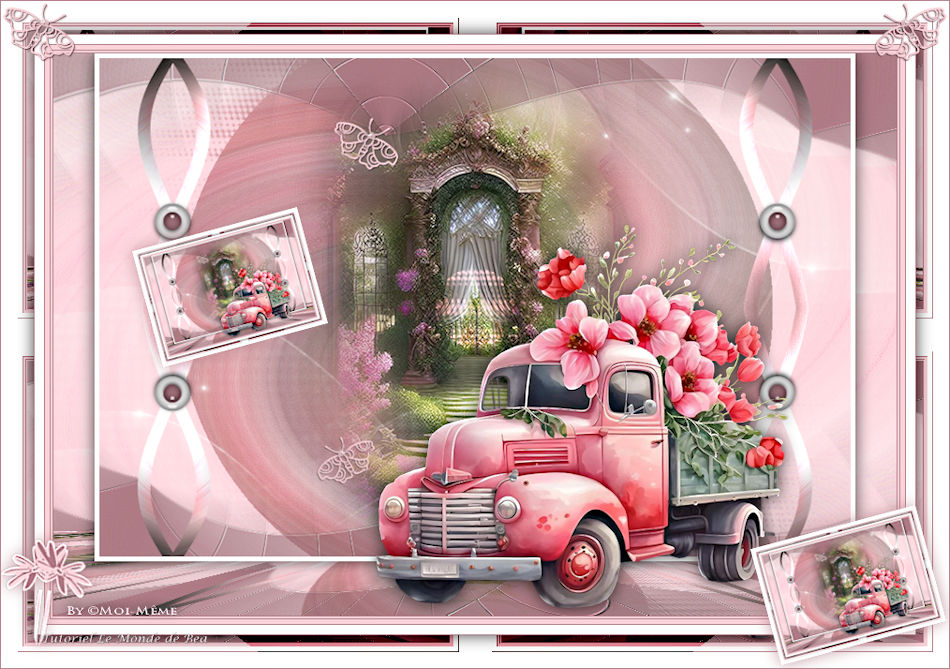
my version: tube by Sylvie Erwan, fleurs by F, misted by EMA, Thank you !!

Material On here
Plugins:
Unlimited - Mura's Meister -
Richard Rosenman - Flaming Pear
Guide:
Colors:
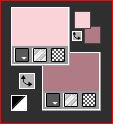
1.
Foreground: Color 1 #fad3d9
Background: Color 2 #b07b852.
Load the file Alpha_Livraisondefleurs
Window/ Duplicate
Close the original, work on the copy3.
Load the tube de Tineke (remove all tube's signature)
Edit/Copy
*On your work: Selections , Select all
Edit/paste into selection
Selections, select none4.
Effects, Image effects:Seamless tilling, setting : Default

Seamless tilling, setting Side by Side

Adjust, Blur, radial blur:

Layers, merge all
Effects, edge effects, enhance more
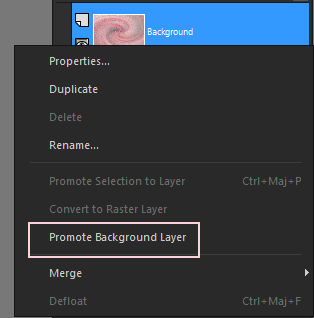
Adjust, sharpness, sharpen moreIn the layers palette, right click on the layer, promote background layer
5.
Layers, new raster layer
Fill in color 1
Layers, new mask layer, from image: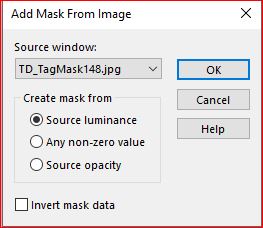
Layers, merge groupe
6.
Layers, duplicate
Image, Mirror, vertical
Image, Mirror, horizontal
Layers, merge down7.
Effects, plugins: Unlimited, Tools , CD Shader:
Layers, properties, blend Mode Overlay
8.
On the Raster 1 layer
Load the misted landscape (by Colybrix)
Edit/Copy
* Paste as a new layer
Image, Resize at 90% , (all layers unchecked)
Adjust, sharpness, sharpen9.
On the top layer
Layers, new raster layer
Selections, load a selection from alpha channel, sélection 1
Fill in color 2
Select none10.
Effects, plugins:Unlimited , Toadies , Weaver , how to opening

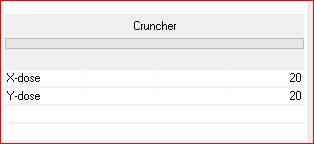
Unlimited &<Bkg Designer sf10 I> Cruncher , how to opening
Effects , edge effects, enhance more
Layers/Duplicate
Image, Mirror, horizontal
Layers, merge down11.
Effects, plugins: Flaming pear - Flexify 2: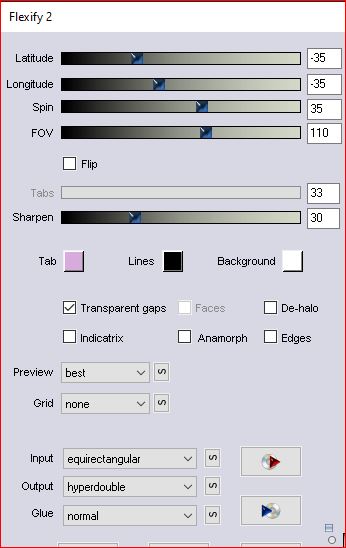
Effects 3D , drop shadow 1 / 1 / 50 / 1 color 2
and
Effects 3D, drop shadow 0 / 0 / 50 / 0 black
Adjust, sharpness, sharpen more12.
Layers, new raster layer
Fill in white
Layers, new mask layer, from image:
Layers/Duplicate
Layers, Merge groupe13.
Layers, properties, Blend Mode, screen
Layers/Duplicate
Layers, Merge down
Layers, arrange, move down
14.
Selections , load a selection from alpha channel, sélection 2
On the raster 1 layerSelections, promote selection to layer
Layers, arrange, bring to top
Effects , plugins: Graphic Plus - Cross Shadow , how to opening
Select none
15.
Effects , distortion effects, wave:
Layers/ Duplicate
Image , Flip, Flip horizontal: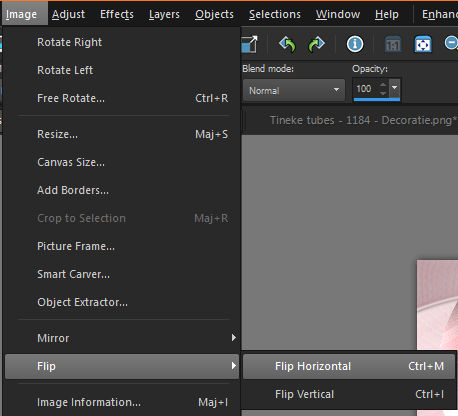
Layers, merge down
16.
Effects, distortion effects, Punch :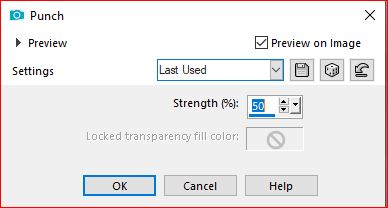
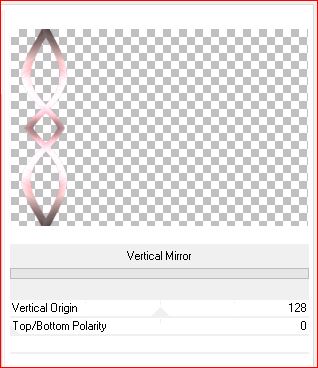
Effects , plugins:
Graphic Plus , Vertical mirror , how to opening
Once more, Graphic Plus Cross Shadow, how to opening
(if necessary, decoration is in the material)
Activate the pick tool (K), place it:
Position X 50
Position Y 0
M key to deselect
Effects 3D , drop shadow 1 / 1 / 50 / 0 , black17.
Layers, new raster layer
Selections, load a selection from alpha channel, sélection 3
Fill in color 1
Effects, plugins: Alien skin eye Candy 5, Impact, Glass - Settings Clear18.
Selections, Modify, Contract at 10
fill in color 2
Effects Alien/ glass as before
Selections, select none
Activate the pick tool (K), place it:
Position X 64
Position Y 172
(M)
Effects 3D drop shadow , as before19.
Windows/Duplicate
Image, Mirror, vertical
Layers. merge down, twice
Layers/Duplicate
Image, Mirror, horizontal20.
Load the butterfly tube "papillon", copy
* paste as a new layer
Place around the landscape according to your taste
Slightly resize the butterfly prints
Colorise according to your colors21.
Layers, merge all
Layers/Duplicate
Image, Resize a 95% , all layers desmarcado
Edit/repeat resize (= again at 95%)Note: this plugin, in my case, doesn't work without selection, if that's your case: select all, float, defloat
Effects , plugins: Richard Rosenman , Solid border: 5/5/0, pixels, Color: white

(if you used it, remove the selection)
Objects, Align, top
or: pick tool (K) , Position Y at 0
Effects 3D , drop shadow 0 / 0 / 75 / 25 black22.
On the layer below
Layers/ Duplicate
Effects, Mura's Meister, Perspective tiling :
23.
On the initial tube (by Tineke)
Edit/Copier
*On top layers , paste as a new layerImage, Resize a 75%, all layers unchecked
Put as on the final example
Apply the preceding drop shadow
Adjust, sharpness, sharpen24.
Image, Add borders, symmetric:
1 px color 2
2 px color 1
1 px color 2
5 px color 1
1 px color 2
10 px white
1 px color 225.
Select all
Image, Add borders, symmetric: 35 px white
Selections/ Invert
Effects, plugins: Unlimited - &<Bkg Kaleidoscope> Cake Mix, how to opening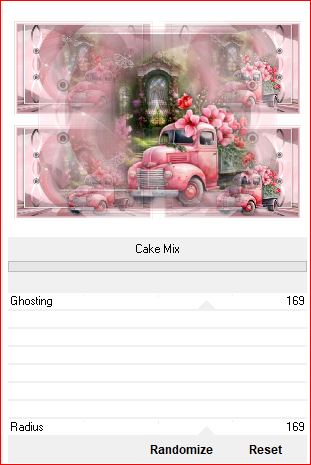
Selections/Invert
Effects 3D drop shadow as before
Edit/repeat drop shadow
Select none26.
Layers/Duplicate
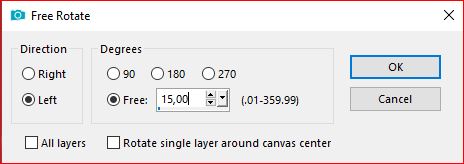
Image, Resize at 18% , all layers uncheckedImage ,Free rotate:
Activate the pick tool (K key), place it:
Position X 140
Position Y 220
Duplicate, place it:
Position X 800
Position Y 538
(M)
Layers, merge down
Apply the precedent drop shadow, change to color 2
27.Load the tube fleur, copy
Paste as a new layer
Put as on the final example
Adjust, sharpness, sharpen more
Aplicar a precedente drop shadow28.
On the butterfly tube," papillon", copy
Paste as a new layer
Place over top left corner
3D, Drop Shadow : 1 / 1 / 50 / 1 color 2Duplicate
Image, Mirror horizontal29.
Sign and add the author's watermark30.
Image, Add borders, de 1 px color 2
Resize width at 950 px
Adjust, sharpness, unsharp mask, setting: softSave as jpeg

-
Commentaires
Inédits de ma conscience
-
O crédito das imagens utilizadas
pertence ao devido Autor
Os meus tutoriais e traduções são protegidos por:

Interditos de qualquer difusão sem a minha autorização
Agradeço o respeito por o meu trabalho.

-


