


-
Magic Winter (eng)
Magic Winter

This tutorial is by Béa

Thank you Béa, for allowing me to translate your tutorial
This tutorial is protected by copyright
The material provided is protected by the authors of the tubes
It is prohibited to appropriate or modify the original and / or signatures.
Any dissemination without written authorization is prohibited.
Original Tutorial: On Here
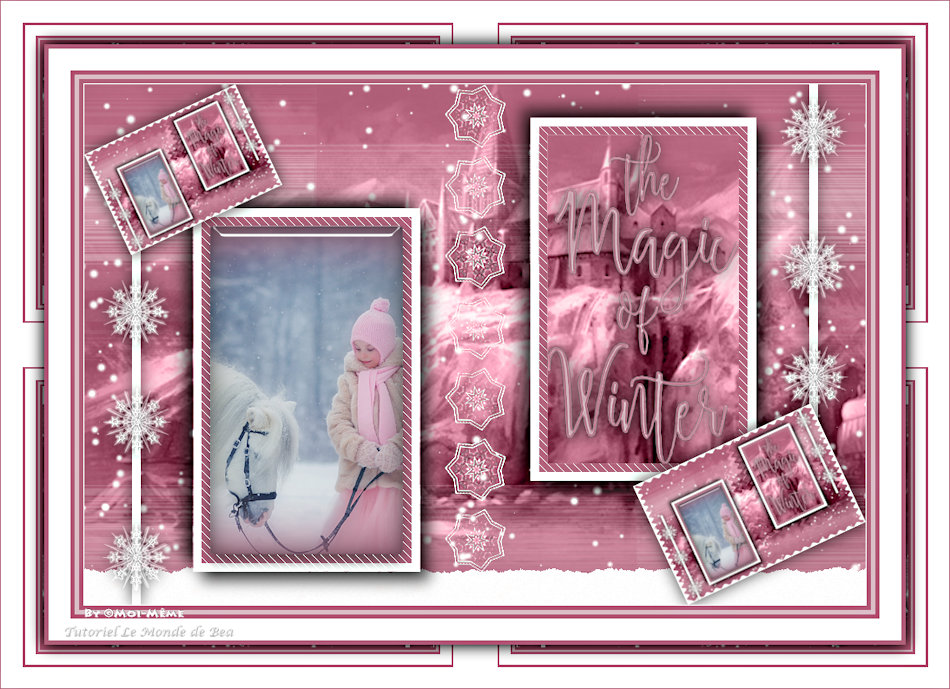
Version according to the original:
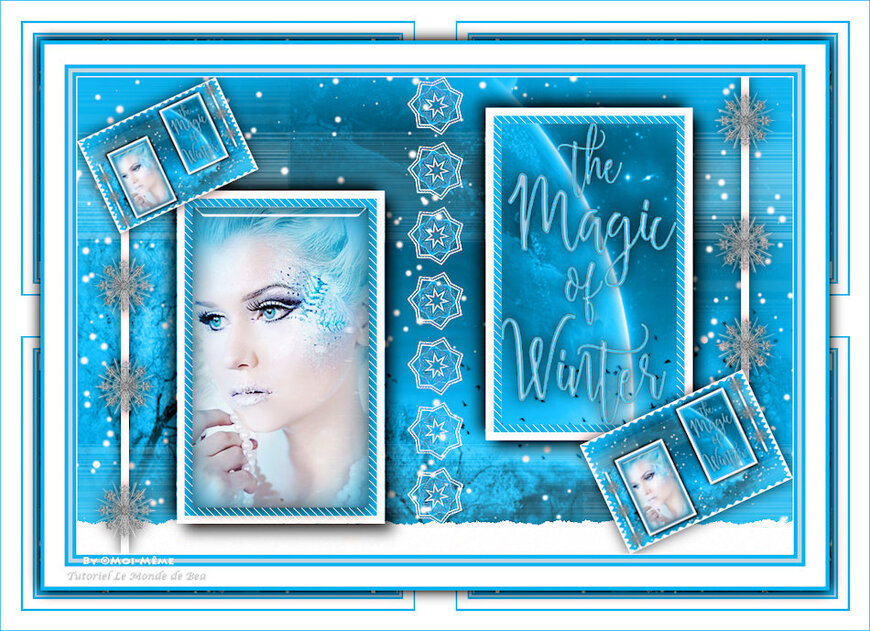
My Version: Misted by Mentali, landscape by Malkoffee , thank you!
Material : On Here
Plugins:
Alien skin eye Candy 5, Impact
Unlimited - Graphic Plus
Ap Lines
Original colors :

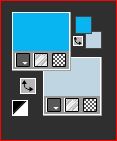
1.
In the Materials palette, place the colors:
Foreground, Color 1
Background, Color 2
2.
Load the file Alpha_MagicWinter
Window/duplicate
Close the original , work on the copy
3.
Fill with color 1
Layers, new raster layer
Selections, Select all
Load the landscape
Edit/ Copy
*On your work: Edit/paste into selection
Image, Resize at 125% , all layers unshecked
Selections, select none
Layers, propreties, Blend mode Luminance (legacy)
Layers, merge visibles4.
Layers, new raster layer
Fill in whiteLoad the mask: NarahsMasks_1755
Layers, new mask layer from image :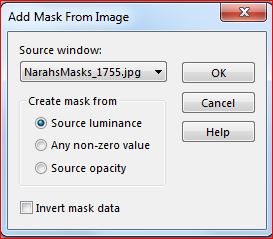
Layers/ Duplicate
Layers, Merge group5.
Selections, load a selection from alpha channel, Load sélection 1
Selections, promote selection to layer
Selections, Modify, Contract at 10
Layers, new rastre layer
Fill with color 1
Selections, Modify, Contract at 106.
Load the misted woman
Edit/ Copy
* Edit/paste as a new layer
Image, Resize at 75% , all layers unshecked (Adapt to your tube )
With the move tool (M) , place it in selection
Selections/Invert
DELETE
Selections / Invert
7.Layers, new raster layer
Effets - Alien skin eye Candy 5 Impact - Glass, em user settings: apply the preset Magic_WinterBasic data if needed:

Layers, merge down , 2 times
Selections, Invert8.
Effects , plugins: Ap Lines - Silverlining:
Serlections, select none
Layers, merge down9.
Load, once more, the sélection 1
Effects 3D drop shadow 10 / 10 / 75 / 25 Black
repeat in negative: -10 / -10 / 75 / 25 Black
Select none10.
On the Group raster 1 layer
Selections, load a selection from alpha channel, load sélection 2
Selections , promote selection to layer
Selections, Modify, Contract at 1011.
Layers, new raster layer
Fill in color 1
Effects, plugins: Ap Lines - Silverlining, as before
Selections, Modify. Contract at 10
DELETE12.
Activate the merged layer (at bottom)
Selections, promote selection to layer
Layers, arrange, bring to top13.
Layers, new raster layer
Load the word art: Riet Tekst Magic of Winter_924_0811223
Remove sign:
Edit/ Copy
* Edit/paste into selection
Selections, Float, Defloat
Fill in color 1
Selections, Modify, Contract at 2
Fill in color 2
Select none
Effects 3D , drop shadow 0 / 0 / 75 / 25 Black
Adjust, sharpness, sharpen more
Layers, merge down 3 times14.
Selections, Load once more, the sélection 2
Effects 3D drop shadow, 10 / 10 / 75 / 25 black
repeat in negative: -10 / -10 / 75 / 25 black
Select none15.
Load the Flocons tube (Decos folder)
Edit/Copy
*Edit/paste as a new layer16.
Load the lignes tube
Edit/Copy
*Edit/Paste as a new layer
Layers, arrange, move down17.
On the merged layer
Load the neige tube
Edit/copy
*Edit/paste as a new layer
Window/ Duplicate
On this copy , Add a new raster layer
Fill in white
Layers, arrange , send to bottom
18.
On the merged layer
Image, Resize at 97% all layers unshecked
Effects, Distortion effects, Wave: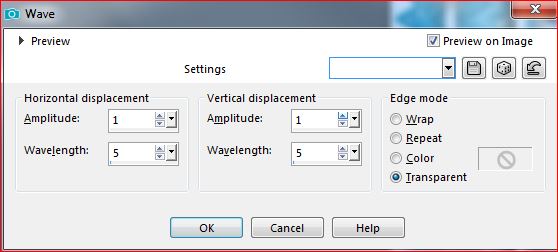
Layers, merge all
Image, resize at 25% all layers checked19.
Edit/copy
On your work:Activate layer on top of layers
Edit/Paste as a new layer
Image, Free rotate: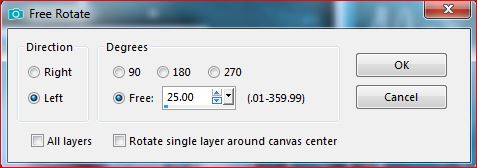
Activate the "K key" pick tool, place it:

Position X 632
Position Y 368
Layers, duplicate
Resize at 85% all layers unshecked
Pick tool "K" , place it:
Position X 0
Position Y 0
M Key to remove selectionEffects 3D drop shadow 0 / 0 / 75 / 25, Black : in the two small frames!
20.
Activate the layer at the top of the layers (top left frame)Edit/copy
Edit/paste as a new layer
Effects , reflection effects , Kaleidoscope: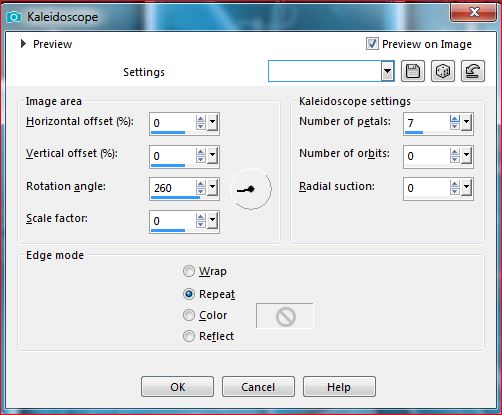
Resize at 40% all layers unshecked
21.
Effects, plugins: Mura's Meister, Copies:
(If necessary, in my case it wasn't: Selection tool, Mode Add, select the small elements at the top and bottom, see the example, delete)

22.Activate the Makeover tool, tinhyfy:

On your layer, double click on the center of the middle star
Pick tool "K" , place it:
Position X 413
Position Y -4(M)
Layers, propreties, Blend mode, Lighten
Effects 3D drop shadow as before
Adjust, sharpness, sharpen more23.
On the merged layer
Load the tube Snowscape
Edit/copy
* Paste as a new layer
Pick tool "K" , place it:
Position X 0
Position Y 555
( M )(In my case: so that the lower star is not hidden by the snowscape, I adjusted the height with the pick tool )
24.
Image, Add borders, symmetric:
1 px White
5 px color 1
5 px color 2
5 px color 1
25 px White
5 px color 1
Select all
Image, Add borders, symmetric: 50 px White
Selections/Invert
Effects , plugins: Unlimited - Graphic Plus - Quick tile I , How to opening: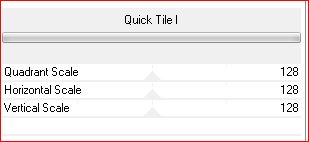
Selections/Invert
Effects 3D drop shadow 0 / 0 / 75 / 25 Black
Edit/ repeat drop shadow
Select none25.
Sign and add the author's watermark
21.
Image, Add borders, symmetric: de 1 px color 1
Resize width at 950 px , all layers checked
Adjust, sharpness, unsharp mask, setting : softSave as jpeg

-
Commentaires
Inédits de ma conscience
-
O crédito das imagens utilizadas
pertence ao devido Autor
Os meus tutoriais e traduções são protegidos por:

Interditos de qualquer difusão sem a minha autorização
Agradeço o respeito por o meu trabalho.

-


Le monde de Béa


La passion de Mel

Le Jardin de Félinec31
Traduções Alyciane e Garances


Click sobre o nome
Cloclo
Barbara de Venise


En Français pour Anja Timmers


En Français pour SimPsp


-
Tubes divers:


-

-


