-
Par ©Moi-Même le 1 Juin 2020 à 16:38
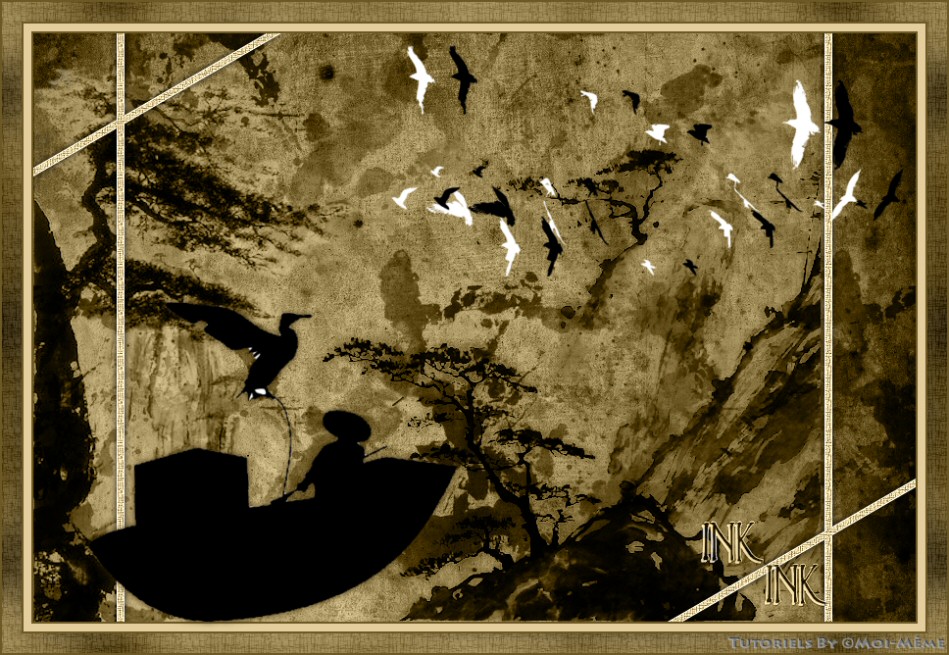
Ink

This tutorial is my own, any resemblance to another tutorial is just pure coincidence.
Forbidden to share without my permission.
Autorizations
Tubes, masks, backgrounds, decorations ,WA
Plugins:
On Here
the credits of the images used,
belong to the appropriate authors
My tutorials are protected:
Thank you tubers
Tube femme de: Liza (groupe TCTcaroussel)
Decorations , WA: from me
others to be done during the tutorial
Unlimited :
Paper textures
General preparation: Before starting one of my tutorials
This tutorial was created with PSP 2020, can be done with previous versions,
The alpha channel is compatible with pSP7
If you can't open alpha channel: Place the selections in your PSP selections folder
Place the PSP scripts and gradients in the corresponding "regulated" folder.
Most of my filters are in Unlimited, check the filter folder, some work outside of it.
Open the mask on the PSP.
Duplicate the material and work on the copies.
Remove signatures from tubes before use
Double click on presets
 , they will be installed automatically
 You can adapt the colors, the Blend mode of the layers, to your work
Material:
Initial dimensions 900x600 px
Colors:

Foreground, 1: #8c969f
Background, 2: #000000
3: #ffffff
1/
Open the alpha channel Ink
fill with color 1
Layers, new raster layer
Selections, select all
2/
Open Image: Fond Ink_by MM, (on folder Fond Ink), copy
about your work: paste into selection
selections, select none
Layers propreties, Blend mode, Luminance (legacy)
Layers, merge down
3/
Open déco: Ink taches
Copy/paste as a new layer
Effects, Edge effects , enhance 2x
4/
Layers, new raster layer
Selections, load a selection from alpha channel, Sélection 1
Fill with color 1
Effects, plugins : unlimited, Paper Textures, Papyrus

Effects, Edge effects , enhance
select none
Effects, 3D effects, drop shadow, 0/0/80/10 Black
5/
About the layer below
Open tube: maison tracée_ tube MM, Copy
About your work: paste as a new layer
Effects, Image effects, offset :


(I added other tubes to the options, resize and place according to what you chose)
Layers propreties, blend mode multiply
(adapt to your work)
6/
Open tube: Ink oiseaux
Copy/paste as a new layer
put on top right, or so : Objects align, top , and, align right
3 D Effects, drop shadow as above (memorized)
Layers, Arrange, bring to top
7/
Image, Add borders, symmetric :
2 px color 2
8 px color 1
2 px color 2
20 px de White
Activate the magic wand tool : Select the 20 px border
Effects, reflection effects, Kaleidoscope, with this data:

Adjust, Blur, gaussien blur, Radius at 20
Apply the plugin: Unlimited, Paper textures, Papyrus,as previously
select none
8/
Load the character tube (main tube)
Image, Resize at 65%, all layers unshecked
Place it with the Pick tool K (K key on your keyboard to activate)
Position : X 104 , Y 44
(Or according to your tube)
3D Effects, Drop shadow: 0/0/80/30 black
( M Key to remove pick tool K)
9/
Carregar o WA_Ink , copy/paste as a new layer
place it with the Pick tool K
Position : X 613, Y 502
(Or according to your work)
3 D Effects, drop shadow, memorized
(change the Blend mode to luminance (legacy) to adapt to your colors)
10/
About the bottom layer of the layers stack
Open tube : décocadre Ink, copy/paste as a new layer
Blend mode: Overlay
11/
Sign
add my signature in blend mode soft light
Add borders: 2 px color 2
12/
Image, resize width at 950 px
Save as JPG/jepg

My version 2, tube by Sylvie Erwan, Thanks!

Testes e tradução
Merci Béa pour avoir testé ce tuto
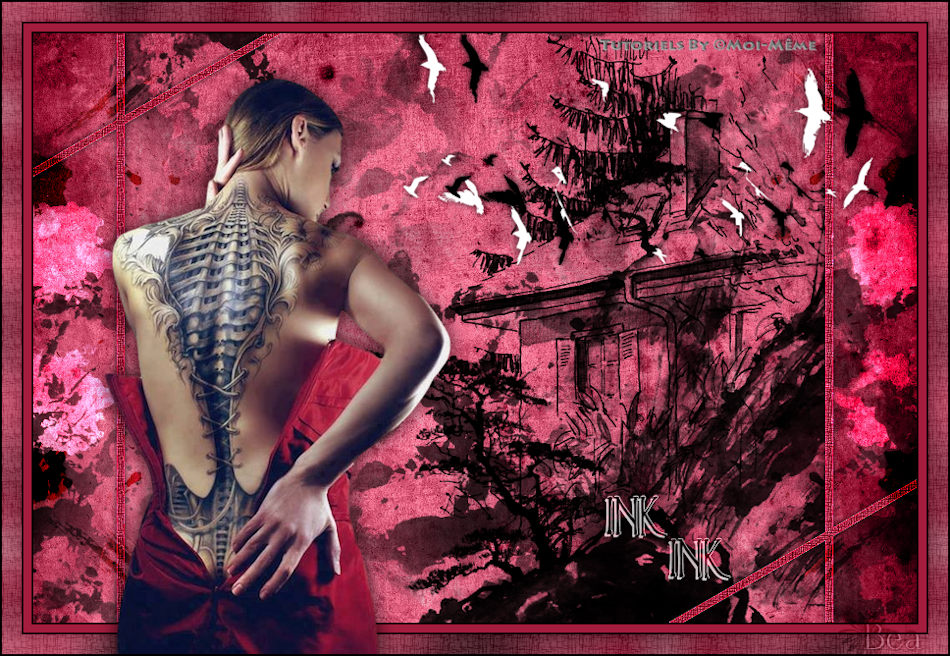
Merci Alyciane pour avoir testé ce tuto

Merci Anja pour a traduction NL
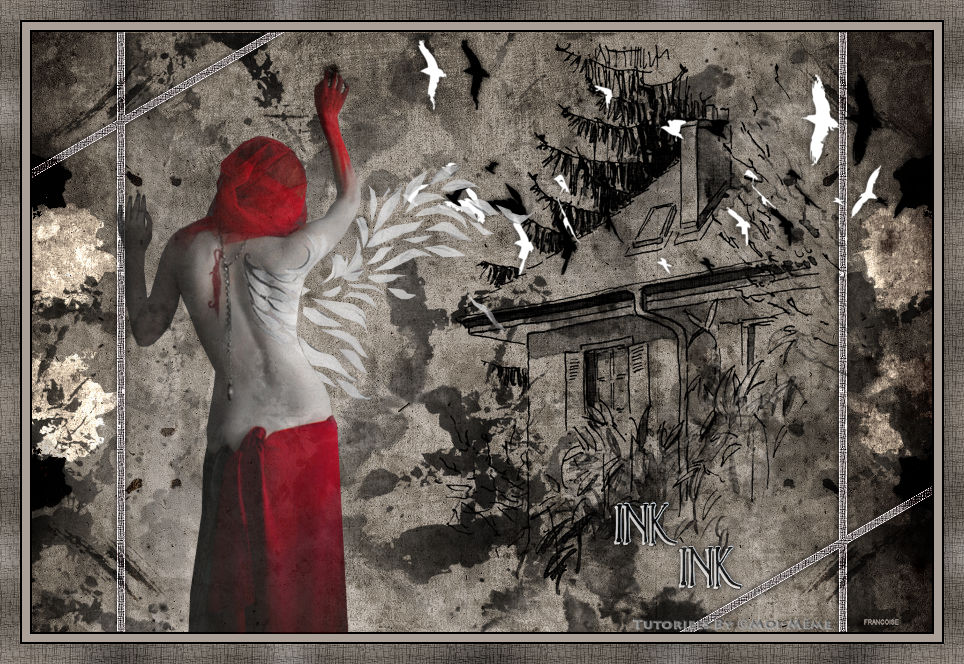
Thank you for !!
Irene Rene
 votre commentaire
 Suivre le flux RSS des articles de cette rubrique
 Suivre le flux RSS des commentaires de cette rubrique
Inédits de ma conscience


